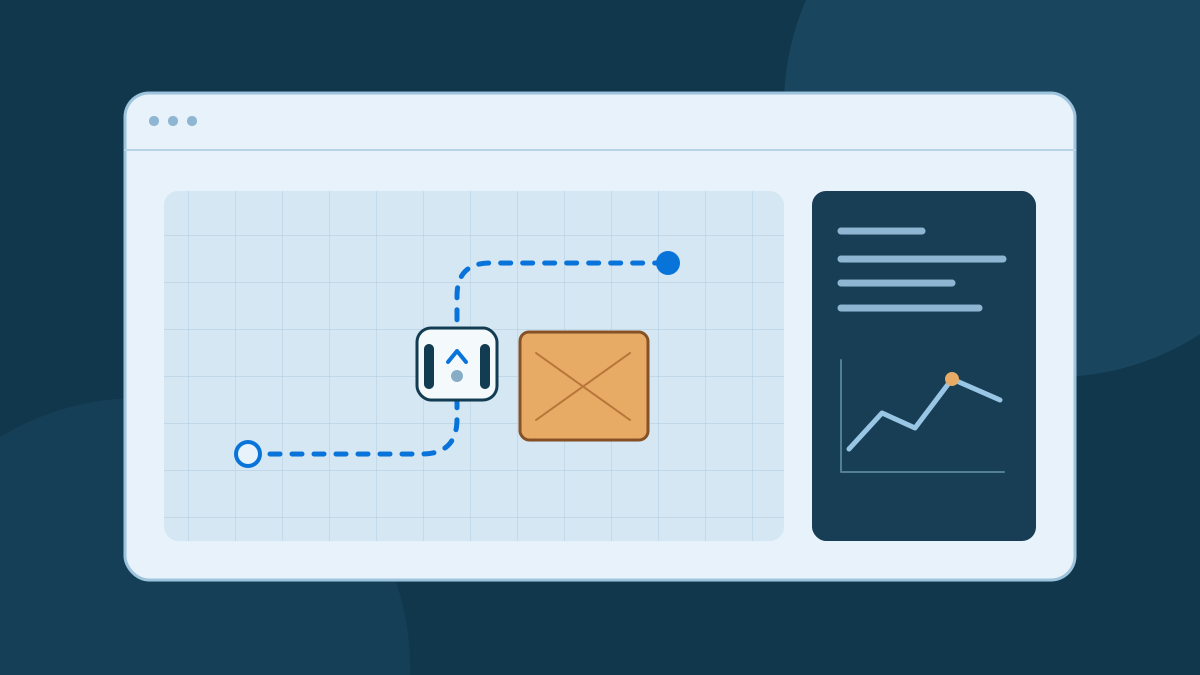
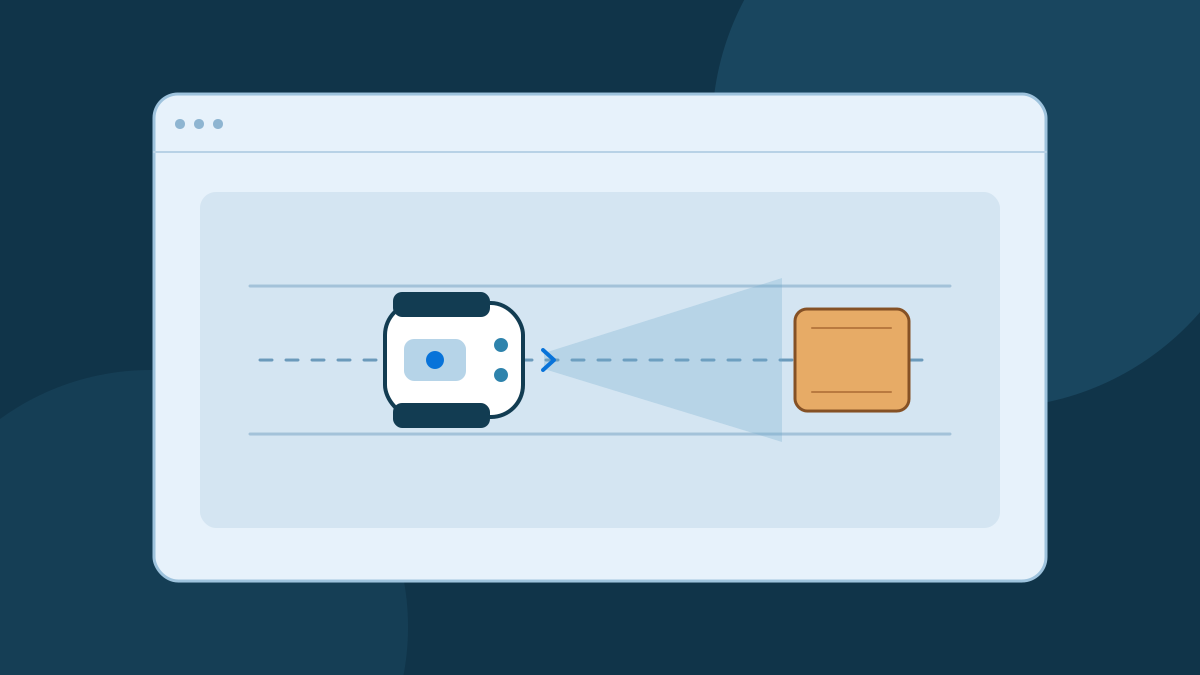
A robot becomes easier to understand when you give it one job. Imagine a two-wheeled robot that moves down a lane and stops before a box. That small task gives you a place to learn about sensors, motion, and software, and you can explore it entirely in a virtual environment.
Break the job into three steps
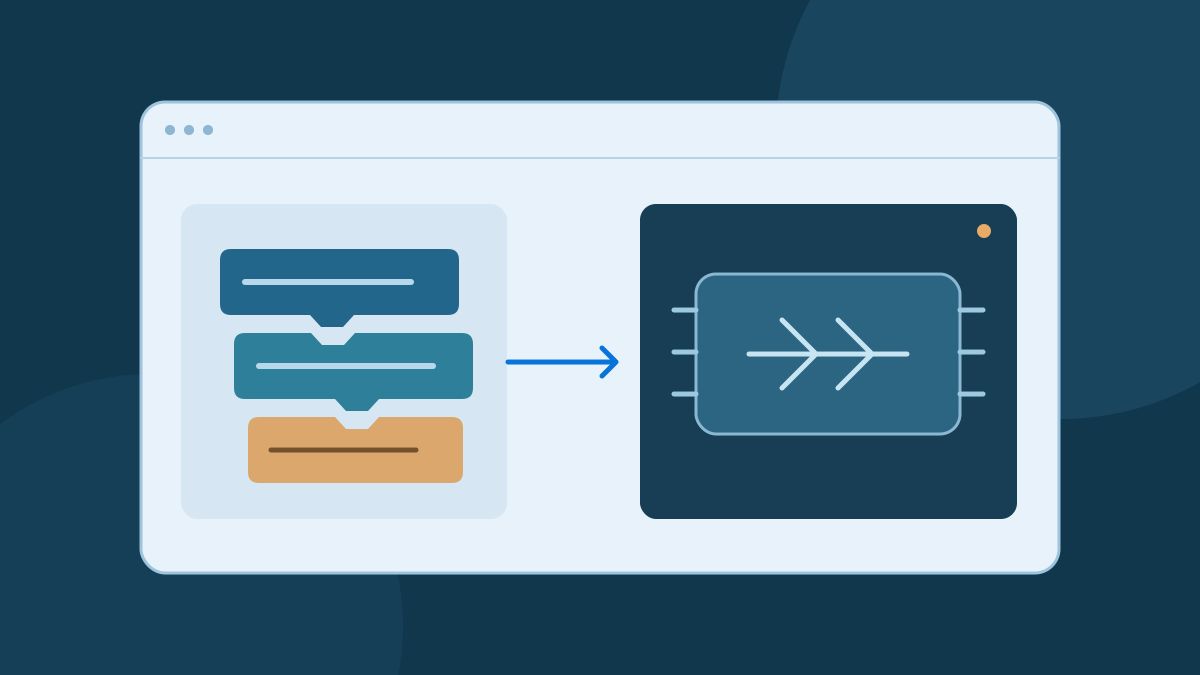
A distance sensor estimates how far away an object is. A controller uses that reading to choose a response. Motors carry out the response by turning the wheels. The robot keeps reading and making decisions as it moves. That repeated pattern of sensing, deciding, and acting is a useful way to think about a control loop.
A single distance sensor covers only part of the scene. It can help a robot react to a box directly ahead, but its reading cannot tell the robot that the entire lane is clear. Draw the area you expect the sensor to observe. That sketch tells you where to put the first test obstacle and where to try a harder case.
Think of the controller's output as a request. A request to move straight describes what you want the robot to do. A feedback controller uses an estimate of the robot's actual motion to correct for a difference between the request and the result. Modern Robotics explains how feedback supports a wheeled robot following a planned trajectory.
Understand how two wheels steer
With a differential-drive robot, each side has its own drive. In a simplified model with identical wheels on level ground, equal forward wheel speeds move the robot straight. When one side moves faster, the robot follows a curve. Equal speeds in opposite directions turn it in place. The model assumes the wheels roll without slipping. See the authors' introduction to wheeled mobile robots.
That means the controller can ask for a forward speed and a turning speed while another part of the system converts those requests into wheel speeds. For a first experiment, you can work with actions such as move and stop and leave the wheel calculations to the model. Gazebo's moving robot tutorial shows a differential-drive plugin applying this separation.
Try a first experiment
Open the Broxme Robotics Lab and predict what the virtual robot will do near the obstacle. Start the run, watch the path, and compare it with your prediction. Reset the demo and try again. Describe the moment the behavior changes in one sentence. This is an observation exercise you can do in the browser.
To design a variation, draw a lane, a starting point, and a box on paper. Write a rule that says to stop when the distance falls to or below a chosen threshold. Make a small table of sample readings on either side of the threshold, plus a missing reading. Decide how you want the robot to respond to each case. For this exercise, a missing reading can request a stop.
In a simulator that lets you edit the scene, keep the starting point fixed and move the box. Record where the stop occurred and whether the robot maintained clearance. Test a reading equal to the threshold in your rule as well. In a simple comparison, choosing “less than” or “less than or equal to” changes what happens at that boundary.
Choose the next question
Once the robot stops in the simple case, pick one assumption to challenge. What if the sensor misses an object just outside its field of view? What if the robot moves faster and travels farther between readings? A specific question gives you a useful next test and a way to tell whether a change helped.
Continue with our guide to robot simulation or take on a task in an independent simulator. Cyberbotics' Webots project includes tutorials and example worlds.
Sources and further reading
Use the original documentation and author resources for technical details and current instructions.

About this guide
Published by the Broxme Journal. Examples use simplified robot models for learning. The projects and technical resources cited here are maintained by their respective authors.
Found an error or an outdated instruction? Tell us the page and the detail that needs attention. We review corrections against the relevant source.
How the Journal is put together